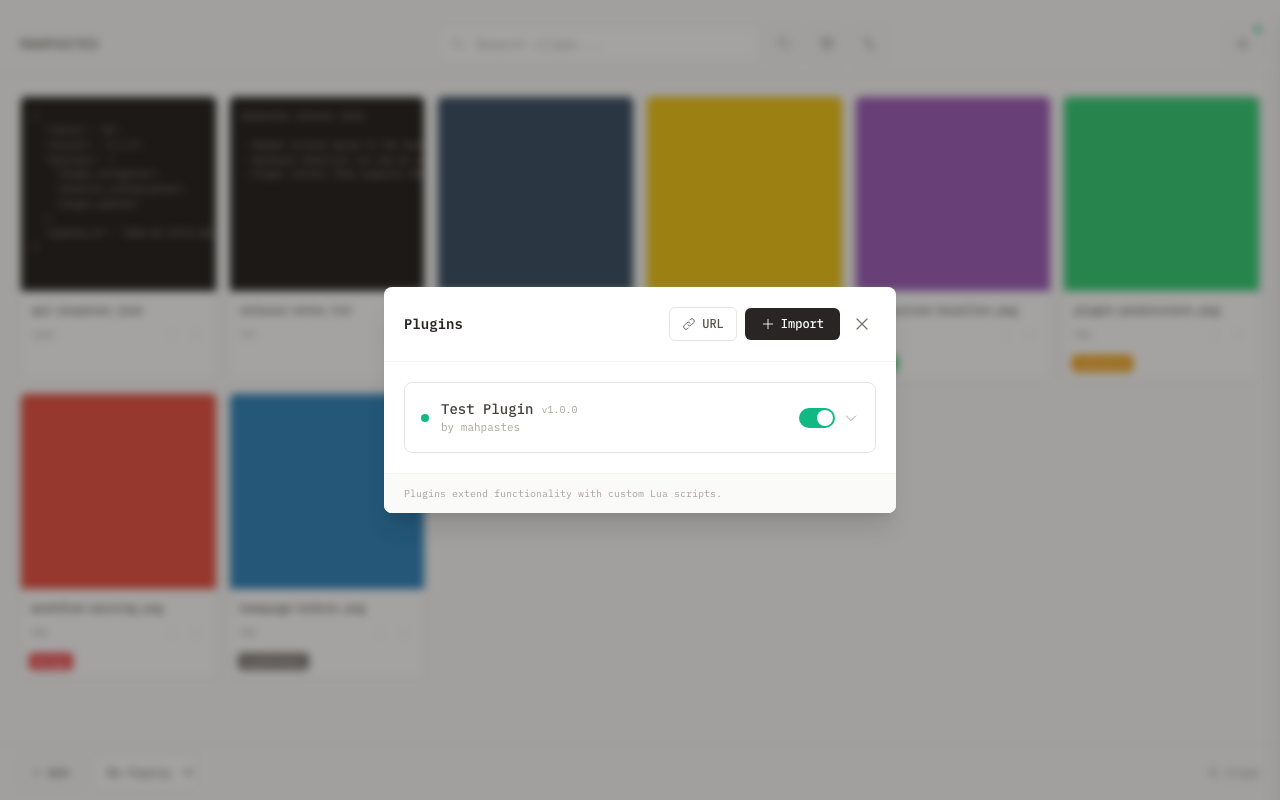
Installing Plugins
Add, configure, and manage plugins from the Plugins modal.
Open the Plugins Modal
- Open the menu drawer
- Click Plugins
Adding a Plugin from File
- Open the Plugins modal
- Click Import
- Select a
.luafile from your computer - Review requested permissions
- Click Approve & Install
The plugin is installed and enabled immediately.
Installing from URL
Install plugins directly from an HTTP(S) URL:
- Open the Plugins modal
- Click URL
- Paste a URL that points to a
.luaplugin file - Click Install
- Review name, version, permissions, and events
- Click Approve & Install
URL-installed plugins keep their source URL so they can be checked for updates.
Only http:// and https:// URLs are supported. Plugin source files must be under 1MB.
Reviewing Permissions
Before install/update, review the permission summary:
Network Access
Shows allowed domains and methods (including wildcard subdomains if declared).
Filesystem Access
Shows whether the plugin requests read and/or write access.
Folder-level access is approved when the plugin first attempts filesystem operations.
Clipboard Access
Shows whether the plugin can write to system clipboard.
Events
Shows the event subscriptions declared by the plugin manifest.
Configuring Plugin Settings
If a plugin defines settings:
- Open the Plugins modal
- Click the plugin card to expand details
- Edit fields in the Settings section
Settings are saved automatically as you edit.

Enabling and Disabling Plugins
- Open the Plugins modal
- Use the toggle switch on the plugin row
Disabled plugins:
- Do not respond to events
- Do not run scheduled tasks
- Keep their settings and permissions
Revoking Filesystem Permissions
- Expand a plugin card
- In Permissions, click Revoke next to a granted path
The plugin must request access again the next time it needs that location.
Removing a Plugin
- Expand the plugin card
- Click Remove Plugin
- Confirm removal
Removal deletes:
- Plugin code
- Granted permissions
- Plugin storage/settings data
Updating Plugins
Manual Updates
For URL-installed plugins, click Update on the plugin row.
- If no new permissions are required, update applies immediately
- If permissions changed, a review dialog appears first
- If update fails, the previous version is restored automatically
Automatic Update Checks
Set the global update-check policy in Settings:
- Open menu drawer
- Click Settings
- In Plugin Updates, choose an interval:
- On startup only
- Every 6 hours
- Every 24 hours
- Disabled
When an update is available, an Update available label appears on the plugin row.
Troubleshooting
Plugin shows error/disabled status
A plugin is auto-disabled after repeated handler failures.
Try:
- Re-enable the plugin after fixing settings
- Update or reinstall the plugin
- Remove the plugin if it is no longer maintained
Plugin not responding to events
Check that:
- The plugin is enabled
- The plugin actually subscribes to the event
- Required permissions were approved
Repeated filesystem prompts
The plugin is requesting new paths not previously approved.
- Approve the needed folder(s)
- Or adjust plugin settings so it targets expected directories only
Related
- Plugins Overview -- what plugins can do
- Writing Plugins -- create your own plugins