Organizing with Groups
Groups are the primary organizational structure. They support hierarchical nesting, own other entities, and form typed relationships with each other.
For an overview of Group concepts (ownership vs relationships, deletion behavior, query parameters), see Concepts: Groups.
Creating Groups
Basic Creation
- Navigate to Groups in the top menu
- Click the Add button
- Fill in required fields:
- Name - Display name (required)
- Optionally add:
- Category - The type of group
- Description - Text describing the group. Type
@to mention and link to resources, notes, other groups, or tags (see Mentions) - URL - External link associated with the group
- Tags - Labels for the group itself
- Groups - Related groups
- Owner - Parent group that owns this one
- Meta - Custom metadata
- Click Save
Creating Sub-Groups
Create groups nested under a parent:
- Navigate to the parent group's detail page
- In Own Entities, find Sub-Groups
- Click Add New
- The owner is pre-filled with the parent group
- Fill in remaining fields and save
Group Hierarchy

Groups form a hierarchical tree through ownership:
Project Alpha (Group)
  Documents (Sub-Group)
    Meeting Notes (Note)
    Spec Document (Resource)
  Media (Sub-Group)
    Photos (Sub-Sub-Group)
      photo1.jpg (Resource)
Navigating Hierarchy
- Breadcrumbs - Show the path from root to current group
- Own Entities > Sub-Groups - Lists direct children
- Owner - Shows the parent group in the sidebar
- Tree View - Navigate to
/group/treefor a visual tree of the full group hierarchy
Viewing Group Contents
The group detail page shows content in expandable sections:
Own Entities (items this group owns)
- Notes - Text content owned by this group
- Sub-Groups - Child groups
- Resources - Files owned by this group
Related Entities (items associated with this group)
- Related Groups - Other groups linked to this one
- Related Resources - Files associated but not owned
- Related Notes - Notes associated but not owned
Categories
Categories define the type of a Group and can provide custom metadata schemas and templates. See Tags and Categories for details.
When a Category has a metadata schema defined, the Group edit form shows structured fields matching the schema instead of free-form inputs.
Group Relations
Relations connect groups with typed, directional relationships.
Understanding Relations
A relation has:
- From Group - The source group
- To Group - The target group
- Relation Type - Defines the nature of the connection
- Name (optional) - Specific instance name
- Description (optional) - Details about this relationship
Example: "John Smith" --[works at]--> "Acme Corp"
Creating Relations
- Navigate to a group's detail page
- In the Relations section, click Add New
- Select:
- Type - The relation type
- From Group - Source (may be pre-filled)
- To Group - Target
- Optionally add name and description
- Click Save
Viewing Relations
On a group's detail page, the Relations section shows:
- Relations - Outgoing relations (this group -> others)
- Reverse Relations - Incoming relations (others -> this group)
Each relation links to the connected group.
Relation Types
Define relation types before creating relations:
- Navigate to Relation Types > New Relation Type
- Enter:
- Name - Describes the relationship (e.g., "works at", "parent of")
- Description (optional) - Details about this relation type
- From Category - Restrict which category the source group must have
- To Category - Restrict which category the target group must have
- Reverse Relation Name (optional) - If provided, automatically creates a matching reverse relation type (e.g., "employed by" as the reverse of "works at")
- Click Save
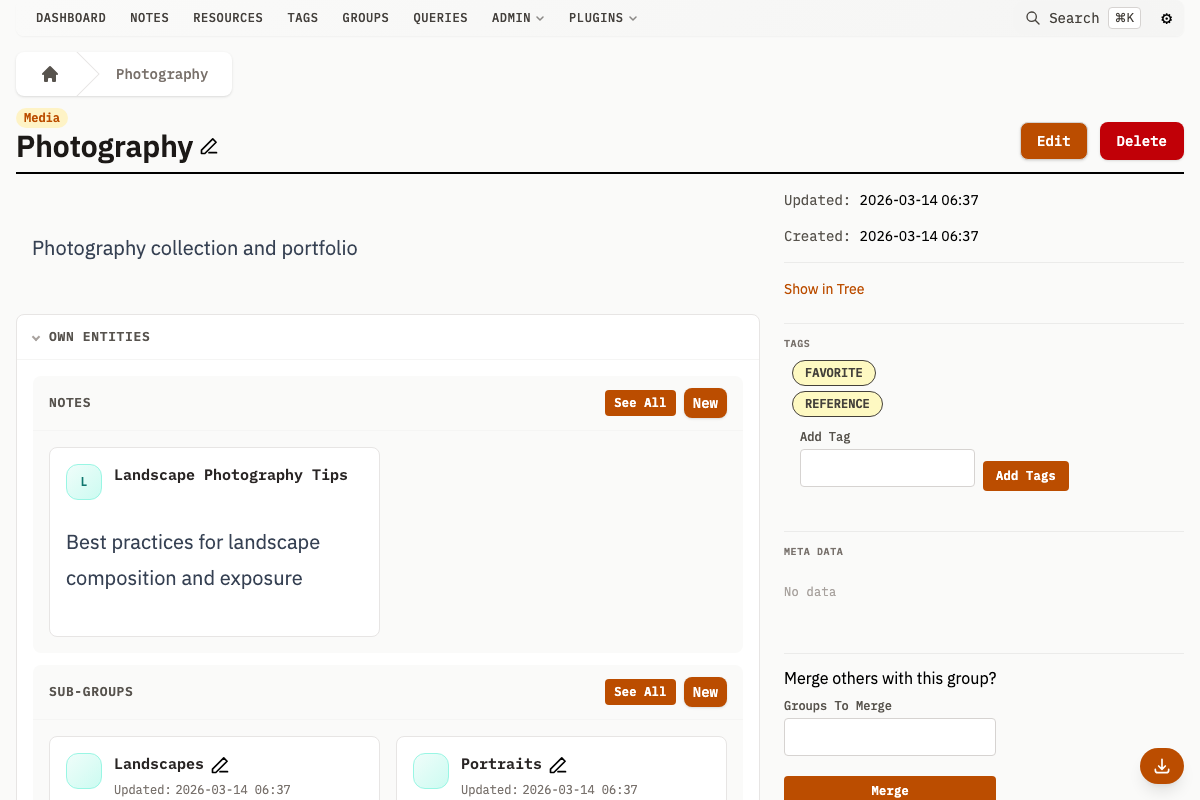
Merging Groups
Combine multiple groups into one:
- Navigate to the group that should remain (the "winner")
- In the sidebar, find the Merge section
- Use the autocomplete to select groups to merge
- Click Merge
The merge operation:
- Moves all owned content to the winner group
- Updates all relations to point to the winner
- Deletes the merged ("loser") groups
Merging is irreversible. The merged groups are permanently deleted.
Cloning Groups
Create a copy of a group:
- Navigate to the group detail page
- In the sidebar, find Clone group?
- Click Clone
Cloning creates a new Group with:
- The same name, description, metadata, URL, owner, and Category
- Copies of all association references (related Resources, Notes, Groups, and Tags)
- A new unique ID
Cloning does not copy owned entities -- only relationship references.
Group Metadata
Schema-Based Metadata
When the group's category has a metadata schema defined, the edit form shows structured fields matching the schema instead of free-form inputs.
Free-Form Metadata
Without a schema, use the Meta Data section to add arbitrary key-value pairs:
- Enter a key name
- Enter a value
- Add more fields as needed
Working with Owned Content
Adding Owned Items
From a group's detail page:
- Expand Own Entities
- Find the section (Notes, Sub-Groups, or Resources)
- Click Add New
- Complete the creation form (owner is pre-filled)
Viewing All Owned Items
Click See All next to any owned entity section to view a filtered list of all items owned by this group.
Transferring Ownership
To move content to a different group:
- Edit the item (resource, note, or group)
- Change the Owner field to the new group
- Save
Tips for Organization
Hierarchical vs Flat
Choose based on your content:
- Hierarchical - When there's a natural parent-child relationship
- Flat with Relations - When items connect in complex, non-hierarchical ways
Categories for Structure
Use categories to enforce structure:
- Create categories for different entity types (Person, Project, Topic)
- Define metadata schemas for consistent data capture
- Use category-specific templates for display customization
Tags vs Groups
- Tags - Quick labels, many per item, no hierarchy
- Groups - Containers with hierarchy, ownership, and relations
Use tags for attributes; use groups for structure.
Adding Groups to Notes via References Block
Notes can reference groups using the References block in the block editor. This creates visual links to related groups.
Adding Groups
- Open a note and click Edit Blocks
- Add a References block or find an existing one
- Click + Select Groups
- In the picker modal:
- Search by group name
- Filter by category
- Click groups to select them
- Click Confirm to add
Viewing References
In view mode, referenced groups appear as clickable pills showing:
- Group name
- Parent group breadcrumb (if applicable)
Click any group pill to navigate to that group's detail page.
Removing Groups
In edit mode:
- Find the group pill you want to remove
- Click the × button on the pill