First Steps
The Data Model
Five main entity types form the core data model:
- Resources - Files you upload (images, documents, videos, etc.)
- Notes - Text content you create
- Groups - Collections that contain Resources, Notes, and other Groups
- Tags - Labels you attach to Resources, Notes, and Groups
- Categories - Types for your Groups (e.g., Person, Project, Topic)
Step 1: Create a Category
Categories define what kind of thing a Group represents (e.g., "Person", "Project", "Location"). Groups can optionally have a Category, but creating a few early helps keep things organized.
- Navigate to Categories under the Admin dropdown in the top navigation bar
- Click the Add button
- Enter a name like "Project"
- Click Save
Step 2: Create Some Tags
Tags are labels you can attach to Resources, Notes, and Groups.
- Navigate to Tags in the top navigation bar
- Click the Add button
- Enter "In Progress" as the name
- Add an optional description
- Click Save
Repeat to create "Completed" and "On Hold" tags.
Step 3: Create a Group
Groups hold related Resources, Notes, and other Groups.
- Navigate to Groups in the top navigation bar
- Click the Add button
- Enter a name like "Research Project"
- Add an optional description
- Click Save
Set a parent Group to create a hierarchy.
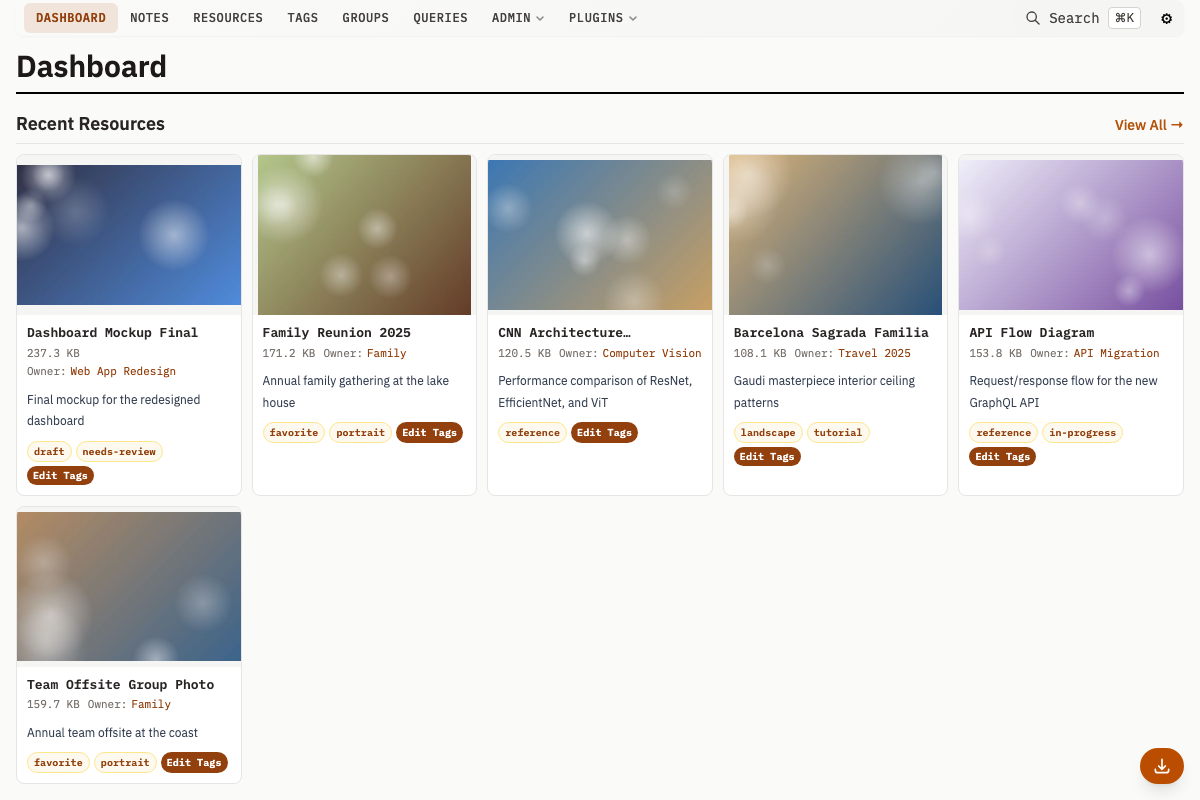
Step 4: Upload Resources
Add files to your Group.
- Navigate to Resources in the top navigation bar
- Click the Create button
- Select one or more files to upload
- Add a name and description
- Under Groups, select "Research Project"
- Under Tags, select "In Progress"
- Click Save
Each Resource can belong to multiple Groups and have multiple Tags.
Step 5: Create a Note
Add a Note linked to your Group.
- Navigate to Notes in the top navigation bar
- Click the Create button
- Enter a title like "Initial Observations"
- Write your note text
- Optionally select a Note Type
- Under Groups, select "Research Project"
- Optionally link to specific Resources
- Click Save
Step 6: Use Global Search
Global search finds items across all entity types -- resources, notes, groups, tags, categories, and more.
- Press Cmd+K (Mac) or Ctrl+K (Windows/Linux)
- Start typing your search query
- Results appear instantly across all entity types (Resources, Notes, Groups, Tags, Categories, Queries, and more)
- Click a result to navigate directly to it
Results come from the FTS5 full-text index when available, falling back to LIKE-based search otherwise.
Step 7: Explore Relationships
See how items connect to each other.
- Open the "Research Project" group
- See all Resources and Notes in this group
- Click on a Resource to see its details, including all Groups and Tags
- Use the related items to navigate between connected content
Tips for Effective Organization
- Use Groups for projects or themes - Keep related items together
- Use Tags for cross-cutting concerns - Status, priority, type of content
- Use Categories to type your Groups - e.g., Person, Project, Location
- Link Notes to Resources - Connect your thoughts to source materials
- Use global search often - It's faster than clicking through menus
What's Next?
From here, you can:
- Create Saved Queries to store and re-run searches
- Set up Group Relations to link Groups to each other with typed relationships
- Use the JSON API to script and automate operations
- Enable Image Similarity to find visually related images